Removing wallpaper is only half the job. What you do after the wallpaper comes down is what determines whether your new paint job looks smooth and professional — or ends up peeling, bubbling, and flashing.
If you’ve recently stripped wallpaper, this guide will walk you through how to prep walls for painting after removing wallpaper so your finish coat looks its best and lasts for years.
Step-by-step Wall Prep Post Wallpaper Removal
Step 1: Make Sure All Wallpaper Glue is Gone
Even if the paper is off, leftover adhesive is often still on the wall, and paint does not stick well to it. Run your hand over the wall to see if it feels:
- Slick
- Slightly rubbery
- Sticky when damp
If you still feel any of that, there’s likely still glue present and it will need to be removed.
How to remove leftover wallpaper glue:
- Mix warm water with a wallpaper remover solution
- Spray or sponge it onto the wall
- Let it sit a few minutes
- Scrub gently with a sponge
- Rinse with clean water
- Repeat until the wall no longer feels tacky. Skipping this step can lead to peeling paint and uneven sheen.
Step 2: Repair Any Drywall Damage
Wallpaper removal often tears the top paper layer of drywall or leaves small gouges from scraping. Look for:
- Torn drywall facing
- Dents or scrapes
- Lifted seams
- Nail pops or cracks you didn’t notice before
How to fix it:
- Apply a thin layer of joint compound to damaged areas
- Let it dry completely
- Sand smooth with a fine sanding sponge
- Don’t worry about making it perfect on the first pass — two thin coats are better than one thick one.
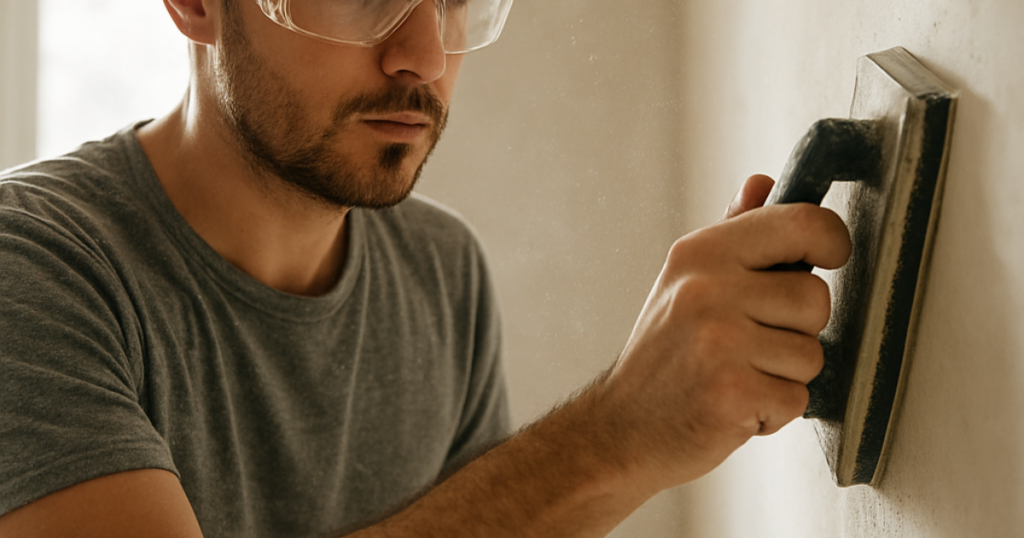
Step 3: Lightly Sand the Entire Wall
This is a step many homeowners skip, but it makes a big difference. Use a fine-grit sanding sponge and go over the wall with light, even pressure. You’re not trying to remove material — just smooth and prep. After sanding, wipe the wall down with a damp cloth to remove dust. Light sanding will:
- Smooth patched areas
- Remove tiny bits of leftover adhesive haze
- Knock down rough drywall fibers
- Create a more uniform surface for primer
Step 4: Spot Prime Repaired Areas
Joint compound is very porous. If you paint directly over patches without priming, you’ll often see flashing — dull or shiny spots where repairs show through the finish. Apply primer just over repaired areas first and let it dry. This seals the patches so they absorb paint evenly.
Step 5: Prime the Entire Wall Before Painting
After wallpaper removal, priming the whole wall is not optional — it’s essential. Without primer, paint can soak in unevenly, peel over old glue areas, or show sheen differences across the wall. Using a quality primer will:
✔ Seal repaired spots
✔ Lock down any microscopic adhesive residue
✔ Create a uniform surface for paint
✔ Improve adhesion and durability
✔ Better coverage and smoother application
If you’re unsure which primer is right — especially if there was heavy glue or wall damage — your local paint experts can help you choose the best option for your situation.
What Happens If You Skip Proper Prep?
Taking a little extra time during prep saves a lot of frustration later. Skipping steps after wallpaper removal can lead to:
❌ Peeling or bubbling paint
❌ Visible patch marks and flashing
❌ Rough texture showing through finish paint
❌ Stains or adhesive bleeding through
Get the Right Supplies Before You Start Painting
Proper wall prep makes all the difference. Before you open a can of paint, make sure you have the right sanding tools, patching products, and a high-quality primer. Stop by your local paint store and talk with a paint expert to make sure your walls are fully ready for a smooth, long-lasting finish.