Removing wallpaper can feel overwhelming — peeling paper, stubborn glue, and the fear of wrecking your drywall underneath. The good news? With the right tools and a little patience, you can remove wallpaper safely and get your walls ready for paint or new wallcovering.
This step-by-step guide will show you how to take wallpaper off the wall, how to deal with leftover adhesive, and how to properly prep your surface afterward.
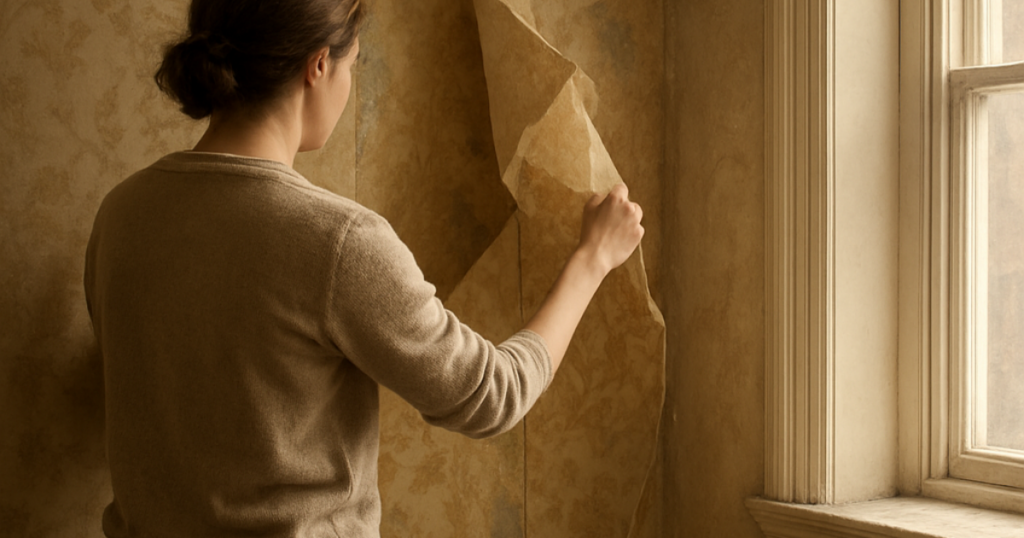
Before You Start: What Type of Wallpaper Are You Removing?
If you’re unsure of your wallpaper, try peeling a corner. If only the top layer comes off and paper backing remains, you’ll likely need to soak and scrape. With that being said, not all wallpaper comes off the same way. Knowing what you’re dealing with will save you time and frustration. Below are the typical options you might be dealing with:
Strippable Wallpaper
Designed to peel off in full sheets when you start at a seam or corner. This is the easiest type to remove.
Traditional Wallpaper
Paper-based and bonded with paste. This usually requires water or a wallpaper removal solution to loosen the adhesive.
Vinyl-Coated Wallpaper
Has a washable top layer that resists moisture. You’ll need to score the surface so water can penetrate and reach the glue underneath.
Wallpaper Removal Tools & Supplies You’ll Need
Having the right tools makes a huge difference. Below is the standard set of tools you can expect to need:
- Drop cloths or plastic sheeting
- Painter’s tape from companies like Blue Dolphin and 3M
- Wallpaper scoring tool (for vinyl or stubborn paper)
- Spray bottle or garden pump sprayer
- Warm water + wallpaper remover solution
- Wide putty knife or wallpaper scraper
- Sponge and bucket
- Sanding block or sanding sponge
- Joint compound (for small wall repairs)
- High-quality primer before painting
Your local paint store can help you choose the right wallpaper remover and primer based on your wall condition — this step alone can save you from future paint problems.
Step-by-Step: How to Remove Wallpaper
Step 1: Prep the Room
Wallpaper removal is wet and can be messy. So, don’t be lazy and always properly prep the room in the following ways:
- Move furniture out or to the center of the room
- Cover floors with drop cloths
- Tape plastic over baseboards and trim
- Remove outlet covers so you can get wallpaper off cleanly around them
- Turn off power to outlets and switches on the wall you’re working on
Step 2: Test a Small Area
There are all types of wallpaper and wallcoverings. Start at a seam or corner and try peeling the wallpaper dry. If it comes off easily in sheets — great! You may be able to skip soaking.
If it tears or leaves paper backing behind, you’ll need to use moisture and a removal solution.
Step 3: Score the Wallpaper (If Needed)
For vinyl-coated or stubborn wallpaper, lightly run a scoring tool over the surface. This creates tiny holes that allow water and remover to soak through to the adhesive.
⚠️ Don’t press too hard — you only want to perforate the paper, not gouge the drywall.
Step 4: Soak the Wallpaper
Mix warm water with a wallpaper removal solution according to the product’s label. Use a spray or a sponge to generously apply onto the wall. Let it sit for 10–15 minutes so the solution can soften the wallpaper glue. Reapply if the area starts to dry too quickly.
Step 5: Peel and Scrape
At this step especially, you want to use finesse and start at a seam or scored section. Work in small sections. Rushing is how wall damage happens:
- Gently lift the wallpaper with a putty knife
- Pull slowly with your hands while guiding with the wallpaper scraper
- Keep the blade flat against the wall to avoid digging into drywall
How to Remove Wallpaper Glue Residue
This is a “step” that many people miss — and it can ruin a paint job if skipped. After the wallpaper is gone, you’ll likely feel a sticky film on the wall. To get rid of this film, just follow the steps below. And Leftover adhesive can cause paint adhesion problems, bubbling, or uneven sheen, so take your time here:
- Spray the wall again with warm water and remover
- Use a sponge to scrub the surface
- Rinse frequently with clean water
- Wipe the wall down until it no longer feels slick or tacky
Repairing the Wall After Wallpaper Removal
It’s important to have smooth walls as they’ll lead to a much better paint finish later. Once everything is dry, inspect the walls under good lighting. You may notice:
- Small tears in the drywall paper
- Gouges from scraping
- Uneven areas where seams were
Here’s how to fix them:
- Apply a thin layer of joint compound to damaged spots
- Let dry completely
- Sand smooth with a fine sanding sponge
- Wipe away dust with a damp cloth
Do You Need Wall Primer After Removing Wallpaper? (Yes!)
If you want the best end result, priming your walls is a must after wallpaper removal. A quality primer:
- Seals repaired areas
- Blocks any remaining adhesive residue
- Creates a uniform surface for paint
- Prevents flashing (uneven sheen)
Skipping primer is one of the biggest mistakes homeowners make after removing wallpaper. Loconsolo Paints experts can recommend the right primer depending on whether you’re painting or installing new wallpaper.
Common Wallpaper Removal Mistakes to Avoid
Avoiding these issues will save you time, money, and frustration.
❌ Scraping too aggressively and damaging drywall
❌ Not soaking the paper long enough
❌ Painting over leftover glue
❌ Skipping wall repairs
❌ Skipping primer before painting
When to Consider Hiring a Pro
For most single-layer residential wallpaper, DIY removal is very doable with the right process. Wallpaper removal might be better left to professionals if:
- There are multiple layers of old wallpaper
- The home has plaster walls
- Large sections of drywall face are tearing
- You’re on a tight timeline
Get the Right Removal Supplies Before You Start
Removing wallpaper is messy, but the right tools make it manageable. Before you begin, stop by your local paint store for wallpaper removers, scoring tools, scrapers, patching products, and primers. Our paint experts can walk you through what you’ll need and help you prep your walls the right way for a smooth, long-lasting finish.